简体中文
简体中文 
All Sides Covered: Mastering the Art of 4-Sided Planing
Introduction:
Woodworking is an art that requires precision, skill, and attention to detail. One essential technique in the realm of woodworking is 4-sided planing. Whether you are a seasoned woodworker or a novice looking to expand your knowledge, mastering the art of 4-sided planing can greatly enhance your woodworking endeavors. This article aims to provide a comprehensive guide to understanding and mastering this technique. By following the steps and tips outlined, you'll be well on your way to achieving flawlessly finished surfaces on all sides of your wooden creations.
Understanding 4-Sided Planing
4-sided planing is a woodworking method that involves removing material from all four sides of a wooden surface to create a smooth, even finish. This technique is often applied to boards, panels, or beams to ensure their edges and faces are perfectly square and free from imperfections. With 4-sided planing, woodworkers achieve uniformity in thickness, width, and length, making it ideal for projects that require precision, such as cabinetry, furniture making, or flooring.
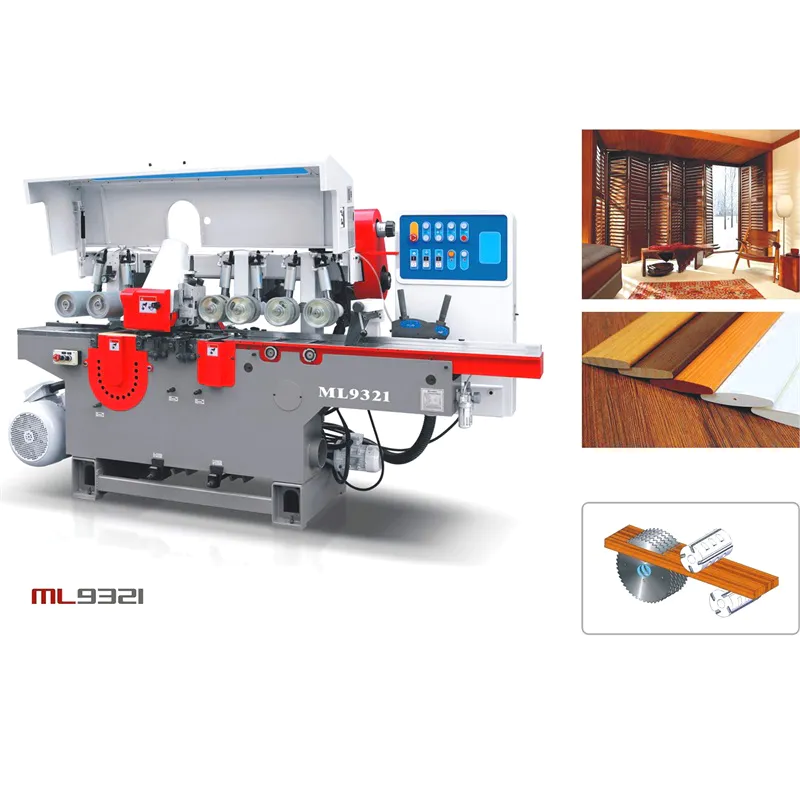
The process of 4-sided planing involves using specialized machines, such as a planer or a jointer, to remove material from the surface of the wood. These machines have rotating blades or cutters that shave away thin layers of wood until the desired result is achieved. However, before diving into the process, it is crucial to understand the necessary steps and precautions to ensure safe and successful outcomes.
The Step-by-Step Process of 4-Sided Planing
Understanding the step-by-step process of 4-sided planing is essential for achieving the desired results. Each step contributes to the overall goal of creating perfectly smooth and dimensionally accurate surfaces. Let's delve into the process and its intricacies:
Step 1: Initial Assessment and Preparation
The first step in 4-sided planing involves assessing the wood piece and preparing it for the planing process. Start by examining the board for any defects, such as knots, cracks, or warping. It is essential to address these imperfections before proceeding with the planing process, as they can affect the final outcome.
If there are any knots or cracks, carefully mark them and consider removing them entirely or skillfully incorporating them into the design. Warping can be mitigated by jointing one face of the board before planing.
After assessing the wood, ensure that it is free of debris or any foreign objects that may damage the planer blades. Remove any nails, staples, or other metal objects using pliers or a metal detector. Cleaning the wood's surface will prevent chips and reduce the risk of accidents during planing.
Step 2: Joint One Face
Once the initial assessment is complete, the next step is to joint one face of the wood. A jointer is a woodworking machine that helps create a perfectly flat and smooth surface on one side of the board. This step is essential to establish a reference face that you can use as a guide for subsequent planing.
Ensure that the jointer blades are correctly aligned and sharp before proceeding. Start by adjusting the depth of cut to remove a thin layer of wood, ensuring an even surface. Feed the wood into the jointer while applying gentle pressure against the fence. Repeat this process until you have a flat face.
Step 3: Joint One Edge
After establishing a flat face, the next step is to joint one edge of the wood. This ensures that you have a straight, perpendicular edge to work from when planing the remaining sides. Jointing an edge will provide a reliable reference surface for the subsequent steps.
To joint an edge, set the jointer's fence at a 90-degree angle to the jointer table. Hold the board firmly against the fence while feeding it into the jointer. Make sure to apply even pressure and maintain a steady feed rate to achieve a smooth, straight edge. Repeat the process until the desired edge is achieved.
Step 4: Planing Remaining Sides
Once one face and one edge are jointed, it's time to move on to planing the remaining sides. This step involves using a planer to remove material and achieve consistent thickness and smoothness across each surface of the wood piece.
Before starting, it's essential to set the planer to the desired thickness and ensure the blades are sharp and properly aligned. Feed the wood into the planer, applying gentle pressure, and maintain a continuous feed rate for an even cut. Repeat the process for each remaining side, consistently checking for thickness and smoothness.
Step 5: Finishing Touches
After planing all four sides, it's time for the finishing touches. Ensure that the edges are crisp and square by using a jointer or a table saw equipped with a jointer fence attachment. Pay attention to any imperfections, such as tear-out or snipe, and address them promptly. Finally, sand the surfaces to achieve a flawless, smooth finish that enhances the natural beauty of the wood.
Summary
Mastering the art of 4-sided planing is a valuable skill for any dedicated woodworker. Understanding the step-by-step process, from initial assessment to finishing touches, allows you to create precise, dimensionally accurate wooden pieces. By following the outlined steps and taking the necessary precautions, you can achieve flawlessly finished surfaces on all sides of your woodworking projects.
Remember, proper assessment, preparation, and attention to detail are key to successful 4-sided planing. With practice, patience, and the right tools, you'll be able to transform rough lumber into perfectly surfaced and dimensionally precise masterpieces. So, embrace the art of 4-sided planing, and let your woodworking skills soar to new heights. Happy planing!