简体中文
简体中文 
The Ultimate Guide to 4-Sided Planers: Everything You Need to Know
Introduction:
Woodworking is an art that requires precision, skill, and the right tools. Whether you are a professional woodworker or a passionate hobbyist, a 4-sided planer is an indispensable machine in your workshop. This powerful tool can save you time and effort by providing smooth, flat, and dimensionally accurate lumber with ease. In this ultimate guide, we will delve into the world of 4-sided planers, exploring their features, benefits, and how to use them effectively. By the end of this comprehensive guide, you'll have all the knowledge you need to make an informed decision and take your woodworking projects to the next level.
Why Choose a 4-Sided Planer?
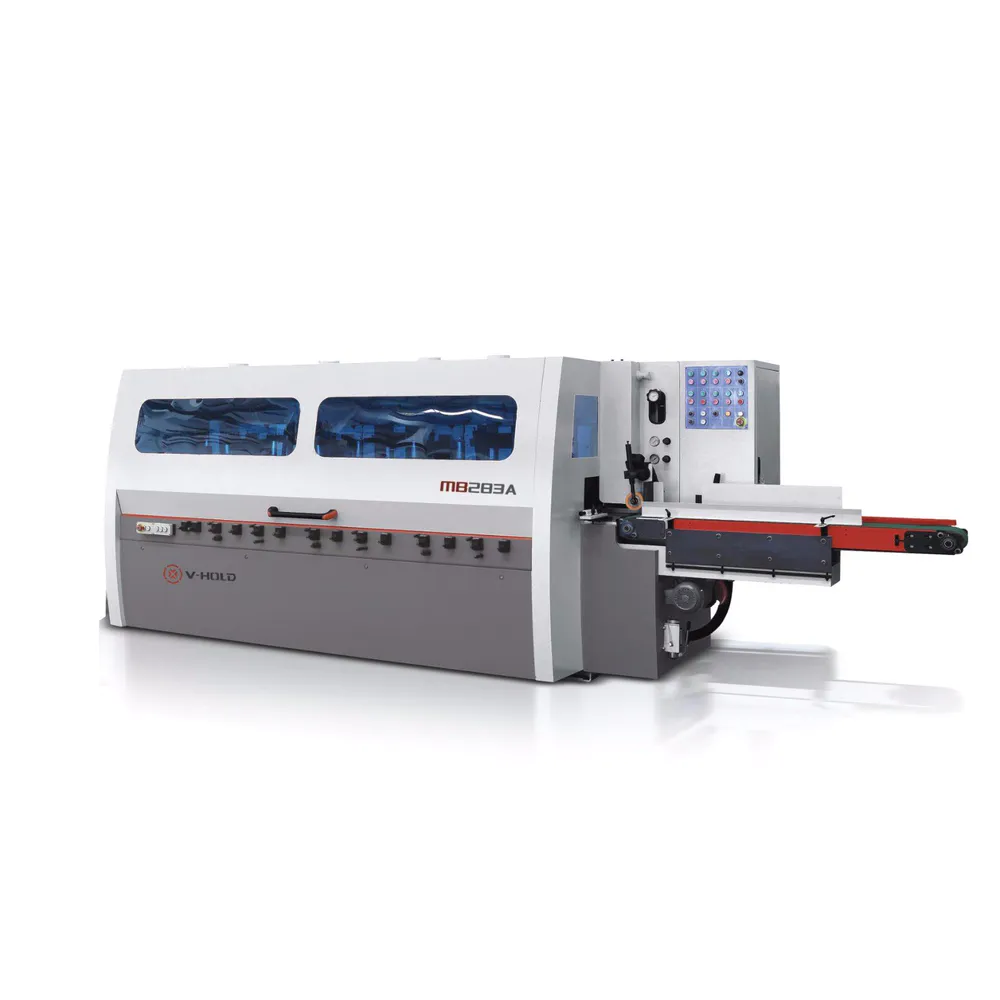
A 4-sided planer, also known as a jointer/planer or combination planer, is a versatile machine that combines the functionalities of a jointer and a thickness planer. Unlike a traditional planer, which only planes one side of a board, a 4-sided planer can simultaneously process all four sides, providing uniformity and precision to your workpiece. This multifunctional tool eliminates the need for multiple machines, making it an excellent addition to any woodworker's arsenal. Whether you need to square, flatten, straighten, or dimension your lumber, a 4-sided planer can do it all efficiently.
The Components of a 4-Sided Planer
To understand the inner workings of a 4-sided planer, it's crucial to familiarize yourself with its key components. Although the design may slightly vary between manufacturers, the basic components remain the same:
1. Feed Table and Fence: The feed table is where you position your workpiece for processing, while the fence keeps the lumber aligned and parallel to the cutting blades. The feed table and fence should be adjustable for precise positioning.
2. Infeed and Outfeed Rollers: These rubberized rollers grip the workpiece during the planing process, ensuring a smooth and consistent feed. The infeed rollers pull the stock into the planer, while the outfeed rollers support and eject the processed lumber.
3. Cutting Blades: The heart of any planer, the cutting blades, eliminate imperfections and create a flat, smooth surface on the wood. The blades are usually made of high-speed steel (HSS) or carbide, known for their durability and sharpness.
4. Dust Collection System: As with any woodworking tool, dust collection is essential for maintaining a clean and safe working environment. The 4-sided planer is equipped with a dust collection system that efficiently removes wood chips and debris during operation.
5. Control Panel: The control panel allows you to adjust various settings, such as feed speed, depth of cut, and cutting width. Some modern planers even offer digital controls for enhanced precision and convenience.
How to Use a 4-Sided Planer
Using a 4-sided planer may seem intimidating at first, but with proper knowledge and practice, you can harness its full potential. Here's a step-by-step guide on how to effectively use a 4-sided planer:
Step 1: Prepare Your Workpiece
Before planing, ensure that your workpiece is flat and free from any nails, knots, or warping. Measure the thickness of the lumber to determine the appropriate depth of cut on the planer.
Step 2: Adjust the Planer Settings
Set the desired depth of cut on the control panel, keeping in mind that removing too much material at once can strain the motor and lead to tear-out. Adjust the feed speed according to the hardness of the wood, starting with a slower speed for dense hardwoods and gradually increasing it for softwoods.
Step 3: Align the Fence and Position the Lumber
Square the fence to the infeed table, ensuring that it is parallel to the cutting blades. Place the workpiece on the feed table, aligning one edge parallel to the fence. Apply downward pressure to ensure proper contact with the infeed rollers.
Step 4: Run the Stock Through the Planer
Turn on the planer and feed the stock into the machine, keeping a firm grip on the lumber. Maintain a steady feed rate, guiding the workpiece against the fence while applying even pressure. If the stock is longer, use supports or rollers to prevent sagging.
Step 5: Repeat for All Sides
Once you've completed planing one side, rotate and flip the board to expose an unprocessed face. Repeat the process for all four sides, adjusting the settings as needed. Take note of any tear-out or snipe and make necessary adjustments to minimize imperfections.
Tips for Maximizing Efficiency and Safety
To ensure optimal performance and safety while using a 4-sided planer, consider the following tips:
1. Always wear proper personal protective equipment (PPE), including safety glasses, hearing protection, and dust masks.
2. Regularly inspect and clean your planer to ensure it remains in good working condition. Check for any loose or damaged parts that may affect its performance.
3. Start with lighter cuts and gradually increase the depth of cut. This prevents motor strain and helps in achieving a smooth finish.
4. Use push sticks or blocks to feed smaller pieces through the planer, keeping your fingers away from the cutting blades.
5. Avoid wearing loose clothing or jewelry that could get caught in the machine. Tie back long hair and remove any dangling accessories.
Conclusion
A 4-sided planer is an invaluable tool for woodworkers of all levels. Its ability to square, flatten, straighten, and dimension lumber with precision and efficiency is unmatched. By understanding the components, features, and proper usage of a 4-sided planer, you can maximize its potential and elevate the quality of your woodworking projects. Remember to follow safety guidelines, take your time, and practice regularly to become proficient in using this versatile machine. With the knowledge gained from this ultimate guide, you can embark on your woodworking journey with confidence and create stunning pieces that showcase your craftsmanship.